고정 헤더 영역
상세 컨텐츠
본문
- 마우스로 화면을 클릭하면 캐릭터가 이동하면서 애니메이션까지 동작하는 코드.
using System;
using System.Collections;
using System.Collections.Generic;
using UnityEngine;
using UnityEngine.AI;

public class PlayerMove : MonoBehaviour
{
    NavMeshAgent navMeshAgent;
    Animator animator;

    void Start()
    {
        navMeshAgent = GetComponent<NavMeshAgent>();
        animator = GetComponent<Animator>();
    }

    void Update()
    {
        if(Input.GetMouseButtonDown(0))
        {
            MoveToCursor();
        }

        UpdateAnimator();
    }

    private void UpdateAnimator()
    {
        Vector3 velocity = navMeshAgent.velocity;
        Vector3 localVelocity = transform.InverseTransformDirection(velocity);
        float speed = localVelocity.z;
        animator.SetFloat("speed", speed);
    }

    private void MoveToCursor()
    {
        Ray ray = Camera.main.ScreenPointToRay(Input.mousePosition);
        RaycastHit hit;
        bool hasHit = Physics.Raycast(ray, out hit);
        if (hasHit)
        {
            navMeshAgent.SetDestination(hit.point);
        }
    }
}
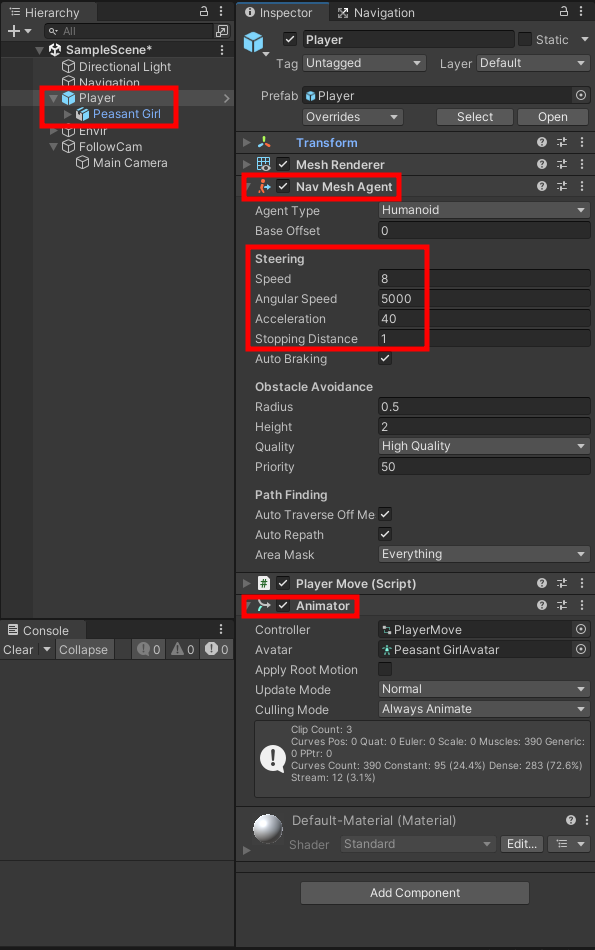
플레이어 하위 캐릭터(Peasant Girl) 오브젝트는 믹사모에서 가져온대로 기본만 있다. 따로 만진건 없음.

애니메이터


믹사모에서 가져온 애니메이션의 타입을 잘 확인한다.

애니메이션 탭에서 루프타임도 확인 한다.

각각의 로테이션과 포지션을 잘 체크해서 밑에 Average Velocity의 값이 0이 맞는지 확인한다.

전방, 후방, 왼쪽, 오른쪽 이동 시 각각 다른 애니메이션을 적용하고 싶다면, 애니메이션 컨트롤러에서 블렌드 트리를 사용하는 것이 좋습니다. 블렌드 트리는 캐릭터의 이동 방향 및 속도에 따라 애니메이션을 자연스럽게 전환할 수 있도록 해줍니다.
구현 방법
- Animator에서 블렌드 트리 생성
- Animator Controller에서 블렌드 트리를 생성합니다.
- 이동 방향을 고려한 애니메이션을 설정하려면 2D 자유형 블렌드 트리를 사용합니다. 이 트리는 x축과 y축 값을 이용해 다양한 이동 애니메이션을 전환합니다.
- 블렌드 트리에 애니메이션 추가
- 전방 이동, 후방 이동, 좌측 이동, 우측 이동 애니메이션을 각각 추가합니다.
- 전방, 후방, 좌, 우 이동 애니메이션을 지정하고, 속도에 따라 애니메이션을 설정합니다.
- 이동 속도 및 방향 계산
- 이동 속도와 방향을 기반으로 애니메이션을 전환해야 하므로 velocity를 로컬 좌표로 변환합니다. 이때 transform.InverseTransformDirection()을 사용하여 로컬 속도를 구할 수 있습니다.
- 전방 이동은 localVelocity.z, 좌우 이동은 localVelocity.x로 처리합니다.
- 애니메이터 파라미터 설정
- speed(속도)와 direction(방향) 파라미터를 설정합니다.
- localVelocity.z는 전후 이동, localVelocity.x는 좌우 이동을 표현합니다.
- 코드 구현
private void UpdateAnimator() { Vector3 velocity = navMeshAgent.velocity; Vector3 localVelocity = transform.InverseTransformDirection(velocity); // 전후 이동 (z축), 좌우 이동 (x축)을 Animator 파라미터로 설정 animator.SetFloat("speed", localVelocity.z); // 전후 이동 animator.SetFloat("direction", localVelocity.x); // 좌우 이동 } - 애니메이터에서 블렌드 트리 설정
- 블렌드 트리에서 x축은 direction, y축은 speed로 설정하고, 캐릭터가 전방, 후방, 좌측, 우측으로 이동할 때 자연스럽게 애니메이션이 전환되도록 설정합니다.
장점
- 유연한 애니메이션 전환: 방향과 속도에 따라 자연스럽게 애니메이션이 변경됩니다.
- 다양한 애니메이션 적용: 전방, 후방뿐만 아니라 좌우 이동 애니메이션도 쉽게 적용 가능합니다.
이 방법을 통해 캐릭터가 전후좌우로 이동할 때 각각의 애니메이션이 자연스럽게 전환되며, 보다 현실적인 이동 애니메이션을 구현할 수 있습니다.


